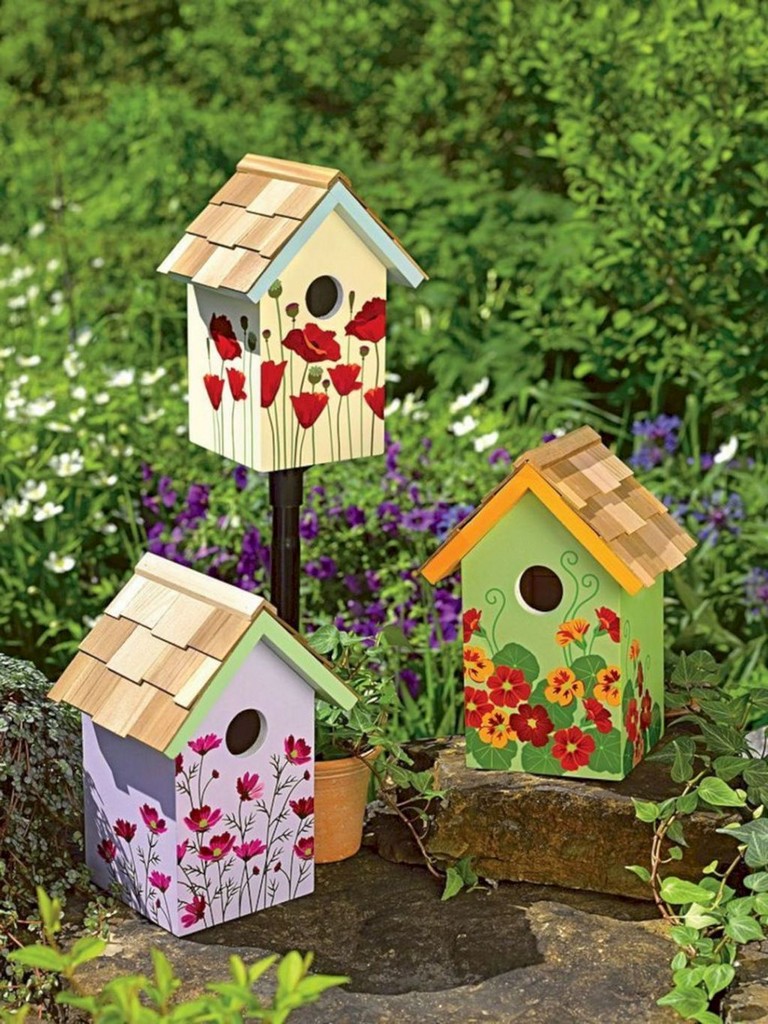
Building a Birdhouse: A Guide for Bird Lovers
There's something truly magical about watching birds flitting around your backyard, their cheerful songs filling the air. But what if you could entice them to stay a little longer, making your garden their home? Building a birdhouse is a rewarding project that brings nature closer and provides a haven for these feathered friends. Let's embark on this creative journey together and discover how to build the perfect birdhouse for your backyard.
Choosing the Right Birdhouse Design
The first step is to decide which birds you want to attract. Different bird species have preferences for house size, entrance hole diameter, and location. Researching the common birds in your area will help you tailor your design accordingly. For instance, a bluebird prefers a small, open-front house, while a chickadee might favor a more enclosed design with a smaller entrance hole. Consider their nesting habits, their preferred food sources, and even the local predators that might pose a threat.
Materials and Tools
Once you've chosen your design, gather the necessary materials and tools. You'll need:
- Wood: Pine, cedar, or redwood are popular choices for their durability and resistance to rot. Choose untreated wood to avoid harming the birds.
- Screws or nails: Use galvanized or stainless steel fasteners for longevity.
- Saw: A circular saw or jigsaw will be handy for cutting the wood.
- Drill: A drill with various bits will help you create holes for ventilation and the entrance.
- Measuring tape: Essential for precise cuts and dimensions.
- Level: Ensures that your birdhouse is level and stable.
- Sandpaper: Smooth the edges of the wood to prevent splinters.
- Paint or stain: Optional, but can add a touch of color and protection to the wood.
Constructing the Birdhouse
Now, let's build the house:
- Cut the wood: Based on your chosen design, cut the pieces of wood to the required dimensions. Make sure the floor and roof pieces are slightly larger than the sides to create an overhang.
- Assemble the sides: Join the side pieces together using screws or nails, creating a rectangular or square structure.
- Attach the floor and roof: Secure the floor to the bottom of the sides and attach the roof to the top using screws or nails. Consider adding a small overhang to the roof to protect the entrance from rain.
- Create the entrance hole: Drill a hole in the front panel for the entrance, ensuring the diameter is appropriate for the bird species you're targeting.
- Add ventilation holes: Drill a few small holes near the top of the sides for ventilation.
- Sand and finish: Sand the edges of the wood smooth, and paint or stain the birdhouse if desired.
Placement and Maintenance
Once your birdhouse is complete, choose a safe and inviting location:
- Choose a protected spot: Place it out of direct sunlight and away from strong winds.
- Mount it securely: Attach it to a tree, fence post, or other sturdy structure, ensuring it's high enough to avoid predators and easily accessible for birds.
- Keep it clean: In the fall or winter, after the nesting season, remove any old nests and debris from the birdhouse. Clean it with a solution of water and vinegar, and let it dry completely before rehanging it.
With a little care and attention, your birdhouse will become a welcoming haven for birds, bringing joy and a touch of nature to your backyard. So grab your tools, unleash your creativity, and get ready to welcome your feathered friends!


No comments:
Post a Comment